Aprons Guides
How To Make leather apron? Step-by step guide
When making a leather apron, there are a few important things to consider, like the weight of the leather, the cost, and how you plan to use it. These factors will help shape your design. If you’re new to working with leather, it’s a good idea to visit a local leather store. The staff can guide you through different types of leather, including the various cuts, weights, and tanning methods.
What You’ll Need:
- Leather: A big enough piece to cover from your chest to your knees.
- Paper or Fabric: To create a pattern or template.
- Sharp Scissors: To cut the leather.
- Leather Punch: To make holes for straps.
- Rivets or Grommets: To secure the straps.
- Straps: For the neck and waist ties.
- Strong Thread and Needle: Or a sewing machine, if you have one.
Step-by-Step Guide for Making A Leather Apron:
Step 1: Create the Outline
To get the right shape, I used a cloth apron as a pattern. I laid it on the leather and traced around it to get the general outline. If you don’t have a cloth apron, you can easily sketch the shape directly onto the leather.You can use leather shears or a sharp knife to cut out the apron shape. Make sure your cutting tools are sharp for clean edges.

Step 2: Prepare the Pockets
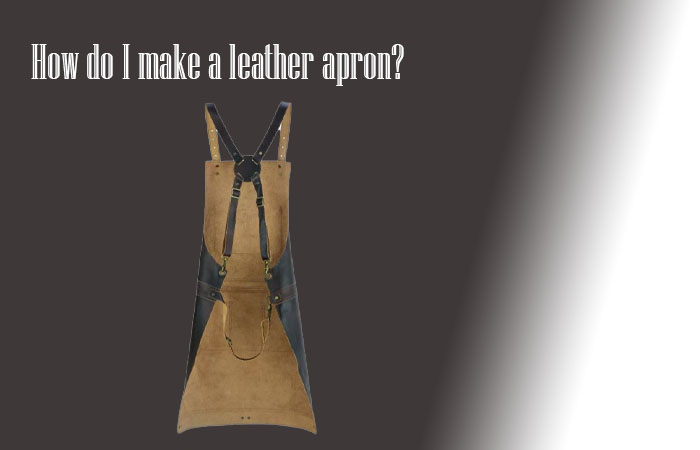
Next, I chose a piece of leather in a contrasting color for the pockets. This adds a nice visual touch and makes the apron more functional. I cut out some simple shapes for the pockets—nothing too fancy, just enough to hold small tools or accessories.

Step 3: Attach the Pockets
Once you have your pocket pieces cut, you can sew them onto the apron. Position them where they’re most convenient for you, like on the front lower part of the apron. Make sure to sew them securely so they can hold items without tearing.
Step 4: Add the Straps
The next step is to add straps. You’ll need one for around the neck and two for the waist. Measure and punch holes for the straps, then secure them with rivets, grommets, or by sewing them on.

Step 5: Final Touches
Once everything is attached, check the apron for any rough edges and trim them if necessary. Try on the apron to make sure it fits well and is comfortable.
Step 6: Finishing
This was a very simple project. The only real finishing you can do on this is to apply a full coat of leather sheen to protect and add some depth of color to the pieces.
Conclusion
Making a leather apron can be a straightforward process if you take the time to choose the right materials and follow these steps. Whether you’re crafting for work or for a costume, the result is a durable and stylish apron that you can be proud of. Enjoy the process, and happy crafting!

